
So, I’m sure there’s tons of different ways of tuning the snare drum. In this article I’ll share what I’ve learned about tuning the snare drums during my drumming journey. In the bigger bands I’ve been part of, it’s always been a thing that every drummer took part in, although a few drummers in the corp would take charge and have tools and spare parts handy. However, I do recommend that all drummers have tools, extra heads and spare parts within reach.
Other factors to consider
Before going into detail about the tuning, do bear in mind that a lot of other factors are in play when it comes to the sound you are producing and projecting; the materials (heads&snares used), the sticks you use (type of wood, weight and so on), the tilt of your drum, and of course how you hit the drum (if allow your stick to resonate or you hit the drum with a firm grip, and flat into the drum). And of course all this tuning is secondary to how you actually play together (in unison) as a drum corp (playing in sync with great accuracy), however well tuned drums can support the quality of your playing, when you’re already playing well.
Tuning the drum heads
Experiment your ways forward and play around with it. Set aside an entire rehersal session to play with the drums, if you’ve never done it before or if taking tuning serious is something new for you.
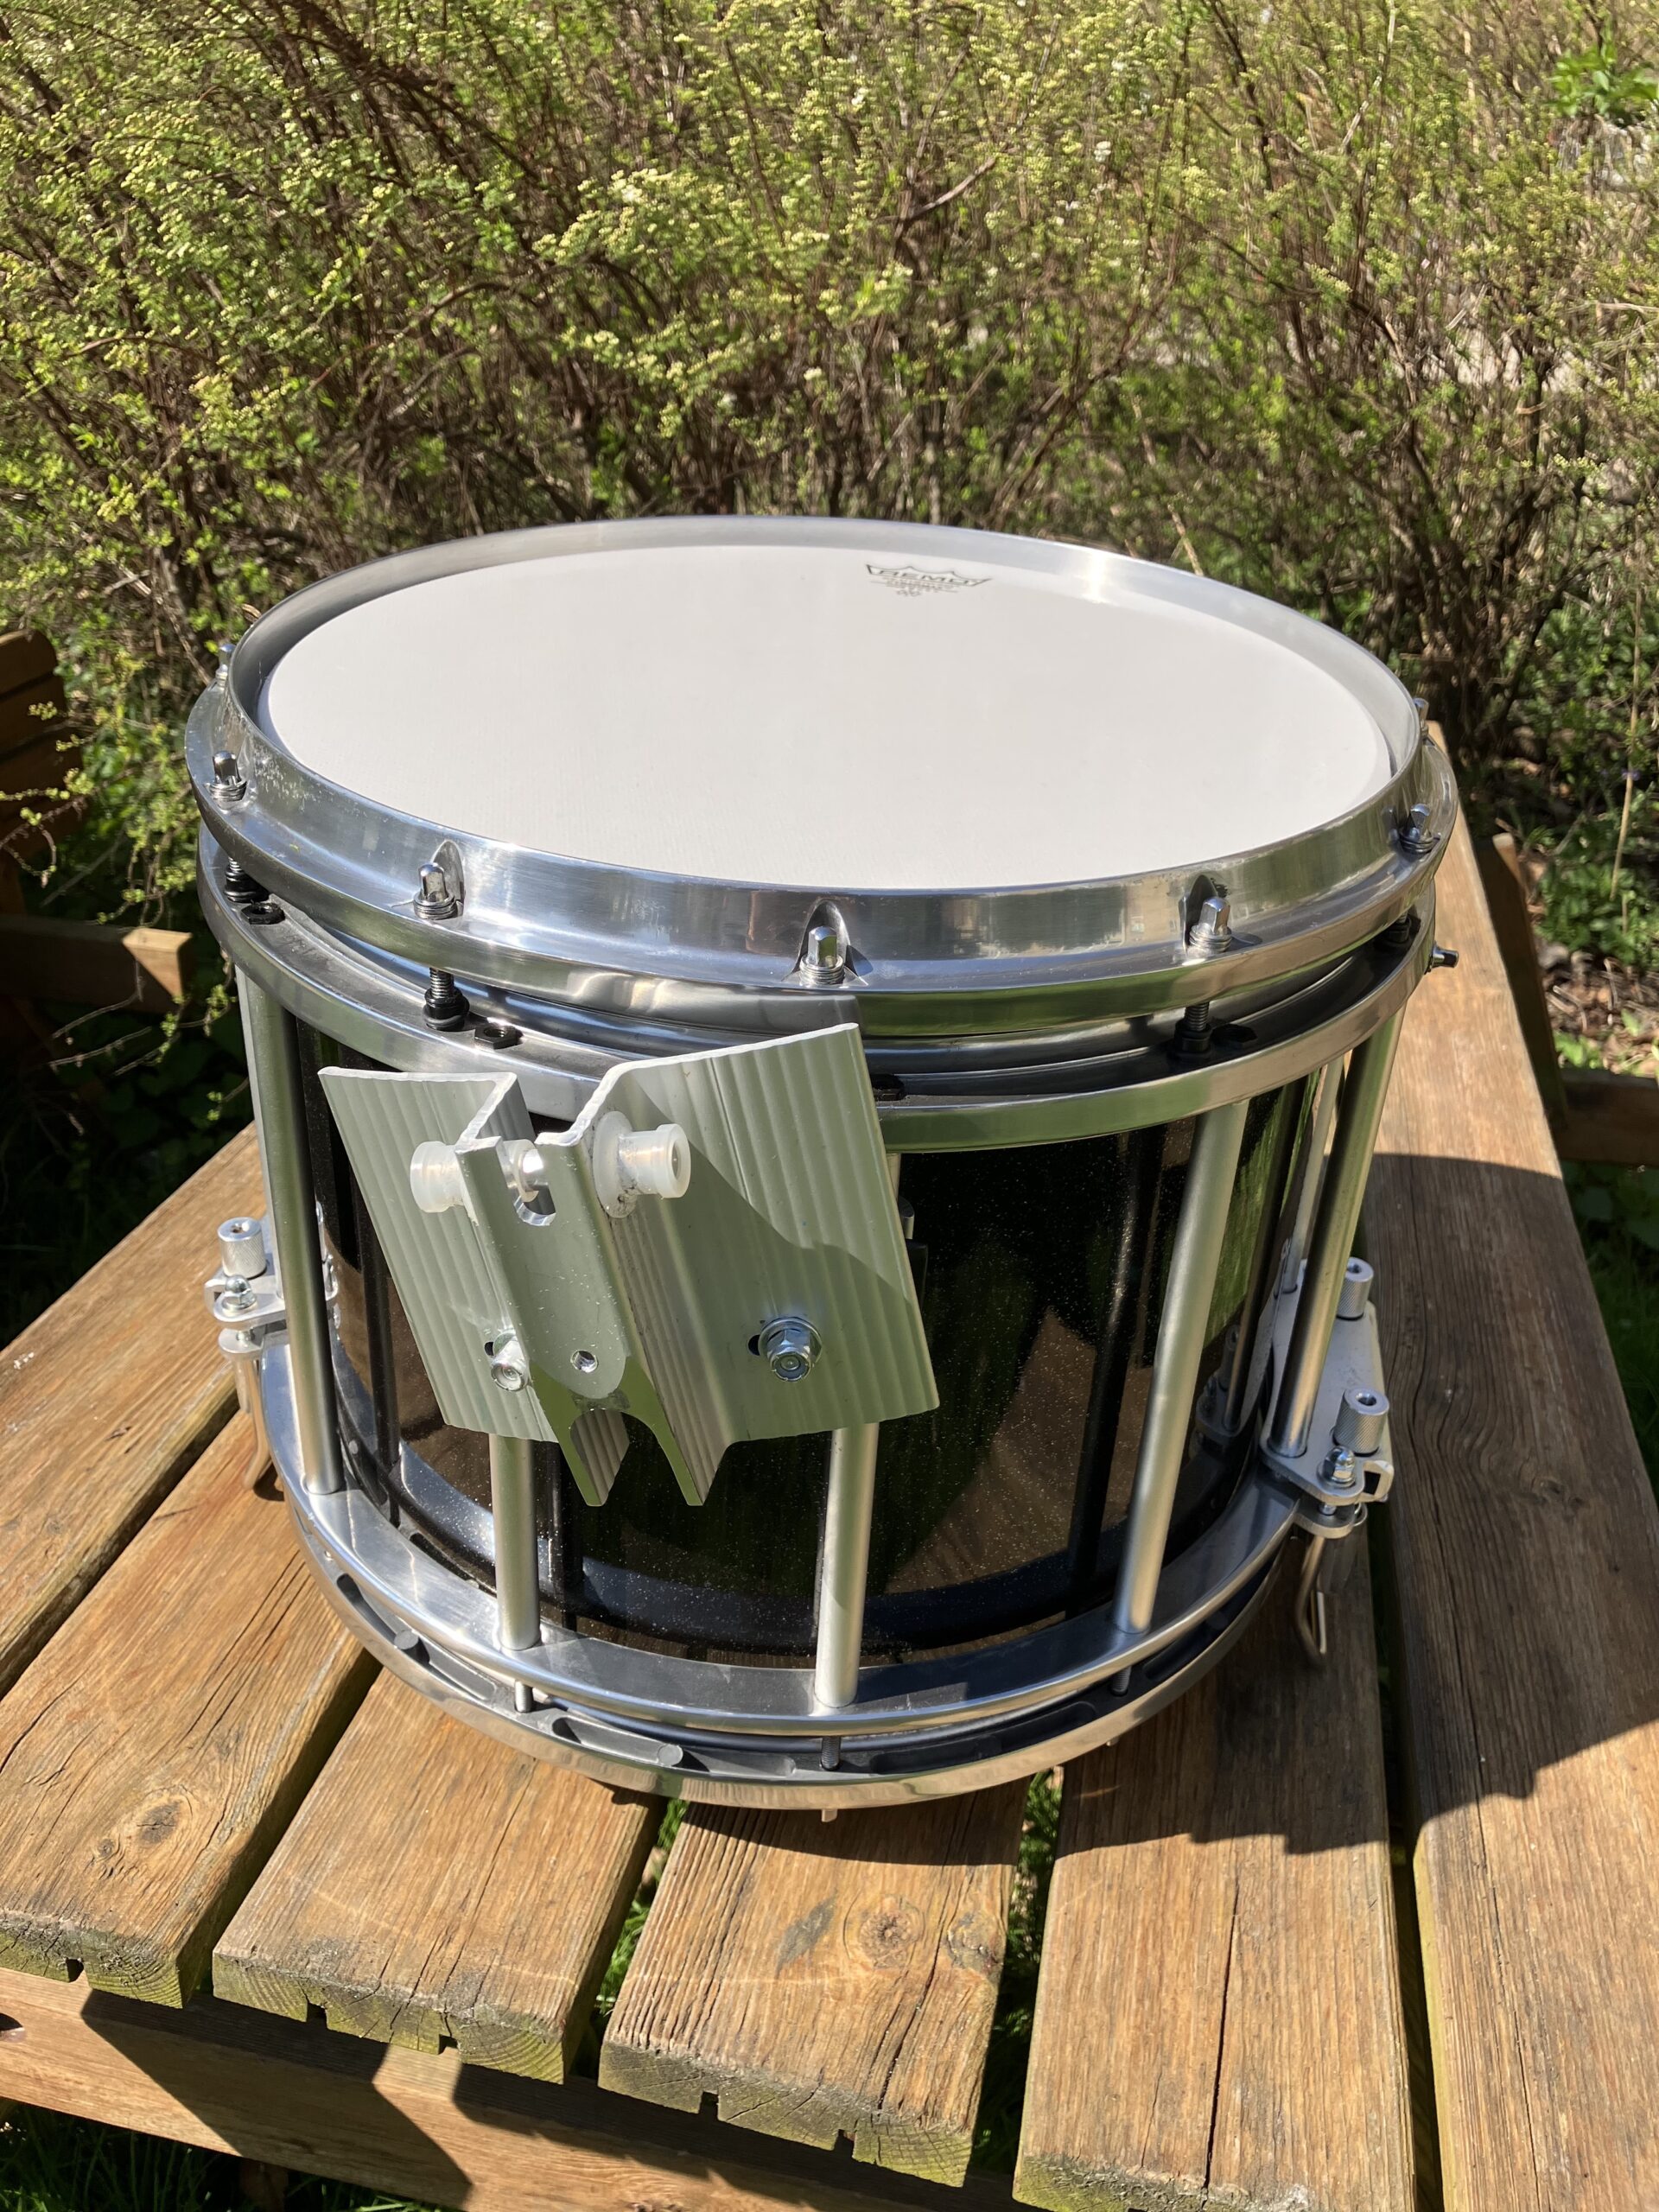
Tuning the bottom head. This is usually the first head I work on, as this is less affected by how I or another drummer tap the drum than the top head would be. Before tuning the bottom head, then take off the bottom snare and lay the drums with the bottom up. When tuning multiple drums I’d usually first bring up all drums to the drum with the highest pitch. However, if you have a drum that has a newer bottom head, have patience and don’t expect that head to deliver a good pitch right away. On a competition day, I’d probably tweek the highest pitched head slightly and then bring the other drums up to that one. Please don’t bang hard on the bottom head, but tap it lightly to be able to hear the actual pitch and ring of the sound.
Tuning the top head. After working on the bottom head, I’d usually bring down the top snare and work on the pitch of the top head. Again I’d try to bring all drums up to the highest pitched drum. Assuming that all drummers in corps use the same brand of sticks (and relatively same weight), I’d lay the drums on the side and tap the drums down the line. Again, if you’ve got a drum that not quite up to pitch, because of a new head (for example), then I’d leave it as a spare, and keep working on it over the following days and weeks to get it slowly up to pitch and allow it to settle in.
Changing of heads. My experience is that everytime you change heads on the drums, it’s a good investment to tap&die the nut and bolts of the drum for easier maintenance the next time around. Also my thinking is, that there’s no need to change all heads at once. If something work great, then why change it? I’ve been in bands where I’ve had the same heads on for 2-3 seasons on a great sounding drum with no problems at all. So, don’t fix it, if it ain’t broken.
Setting the snares
Once done with the tuning of the heads, it’s time to set the snares to get that nice crisp sound that we all like to complement that extremely short sound of our high pitched drums. There’s a couple of things that can be done to avoid that dull and choked flat sound that you sometimes get from a pipe band drum if it’s not tuned properly. Again there’s a difference in how you’d tune it depending on the surroundings you play in – indoors, in a studio, in a church, a big or a small room or outdoors.
Setting the bottom snare. This is something that I think a lot of drummers neglect. Do not underestimate the power of a properly set bottom snare. I think that’s where you get the most of the nice snare respons that you want. Before you begin the tuning, make sure the snare is not too close or too far away from the head – play around with this until you get it just right. Start by loosening the bottom snare and then slowly tighten it whilst hitting the drum. The hitting of the drum should be done by the drummer that’s actually going to be playing the drum, so that the snares can be set to match preferences of the individual drummer. Another drummer should be doing the turning of the key to adjust the snare. If playing outside, you can usually allow some more rattle than if playing inside, as the outdoor environment and grass surface sucks a lot of the rattle from the snare. Personally I like a rather loose snare (compared to what I’ve noticed from fellow drummers). However, do have another drummer from the corp stand behind you as you set up the bottom snare to make sure that the sound from behind is ok – not too tight or too loose. Make sure to inspect the quality of the snare when working with it, to ensure that if works properly. Cut off a string or two if you’re in an emergency and need to fix a rattling problem/issue.
Setting the top snare. This is probably the most sensitive part of the sound of the drum. I’ve never heard anyone compete, solos or bands, with a snare that was too loose and with too much rattle. However, I’ve often heard drums who had almost no snare response and had a choked and flat sound.
When setting this with a drum corp, I recommend having the drummer whos drum you are tuning hitting the drum, another drummer turning the key and a third drummer standing behind the drum as it’s played. This method helps you set the snare properly to get the response you want to project to outside the circle. To some drummers this new sound of more snare/rattle can be very hard to adjust to, if they’ve been used to a very flat&choked tabletop sounding drum. To allow for this adjustment, I recommend playing around with tuning in good time before any public performances. The setting of the top snare (and the bottom snare) is very much a personal taste question as well, and therefore it’s important that each drummer have their own personal drum and that it’s being set to them individually. Another important factor here is the setting of the tilt of the drum – both for comfort and for projection. The setting and adjustment of the harness/carrier will be the topic for another article on the site.
Summary
- Put the drums upside down, and take off the bottom snare. Tune the bottom snare to the highest pitched drum. Tap the drum lightly to determine the pitch.

- Turn around the drums to the side, and turn off the top snare. Tune the top heads to the highest pitched drum. Have one drummer tap, a few drummers turn the keys and a drummer or two listening to the sound.

- Wear the drums and set the bottom snare. Start by turning them all the way off. Gently turn them on to the desired bottom snare response. This will perhaps be an eye opening experience where you get an idea of how much snare response you can pick up from setting the bottom snare nicely.
- Set the top snare, again to each individual drummer. Gently turn on the top snare. Don’t hesitate to go back and reset, if you tightened it too much.
Final thoughts
Do bear in mind that so many other factors have a huge impact on the sound you produce; the way hold the stick (firm/loose), if the sticks resonate, the types of sticks you use, and ultimately your drumming technique and the level of sync/unison you play as a drum corp. So, if you’re still (in your drum corp) in doubt wether the LD is right in her/his playing, then that’s a matter to be resolved way before turning any keys on the drums. The LD is king, and the remaining drummers are following along, as in syncronized swimming, to make the LD sound as one big drum corp.
Finally when tuning drums, there’s not really a total right or total wrong, so allow yourself time to listen to different drum corps, and pipe band records to develop your own taste in drum sound. And, of course, give yourself and your drum corp time to play around with the drums, and allow for everyone to bring their input and suggestions to the table.
Enjoy the tuning process!